Table of Contents
Why Cleaning Vinyl Records Matters
Sound Quality and Longevity
Keeping your records clean directly improves playback. A dust- and grime-free groove means the stylus reads the signal more accurately, producing clearer sound with less distortion. Regular cleaning also preserves the vinyl itself — dirt and grit act like tiny abrasives that wear down grooves over time. If you value How to Clean Vinyl Records properly, you’re extending the life of your collection.and you can start with a simple guide, use an anti-static brush before every play, wipe gently in a circular motion, and clean deeply with distilled water whenever you notice noise or buildup.
Dust, Static, and Surface Noise Explained
Dust attracts static, and static pulls more dust — a vicious circle. Static charges cause pops and crackles the moment a needle meets the groove. Surface noise comes from particles sitting in the groove or tiny residues left from handling. Learning How to Clean Vinyl Records reduces both static and physical debris for quieter, richer playback.
What You Should Avoid When Cleaning Records
Common Mistakes That Damage Vinyl
- Rubbing too hard with household cloths.
- Spraying cleaning solutions directly onto labels.
- Using a dishwasher or household glass cleaners.
- Storing records in paper sleeves that shed fibers.
Each of these shortcuts can cause permanent damage.
Why Tap Water, Harsh Chemicals, and Abrasives Are Bad
Tap water leaves mineral deposits. Harsh chemicals strip protective coatings or attack labels. Abrasive cloths create micro-scratches. Avoid these by sticking to distilled water, mild solutions, and soft, lint-free cloths when learning How to Clean Vinyl Records.
Tools You’ll Need: Budget to Pro-Level
Basic Home Kit (Affordable)
- Anti-static brush (carbon fiber).
- Microfiber or lint-free cotton cloth.
- Distilled water.
- Small spray bottle.
- Gentle dish soap or a dedicated record cleaning fluid.
This simple kit solves most everyday cleaning needs.
Intermediate Tools (Worth the Upgrade)
- Microfiber record cleaning mat.
- Record cleaning solution (commercial, pH-balanced).
- Soft cleaning pads or record-wash brush.
These provide better cleaning with minimal risk.
Pro Options: Vacuum and Ultrasonic Machines
- Vacuum record cleaners remove solution and debris without reintroducing dirt.
- Ultrasonic cleaners use high-frequency sound in a fluid bath to dislodge deep contaminants.
Both are excellent if you have many records or valuable pressings.
Quick Daily Care: Fast Steps Between Plays
How to Handle Records to Minimize Dirt
Always touch records by the edges and label area. Avoid touching the grooves. Keep hands clean and dry. When removing from sleeves, slide the record gently — jerky motions can fling dust into grooves.
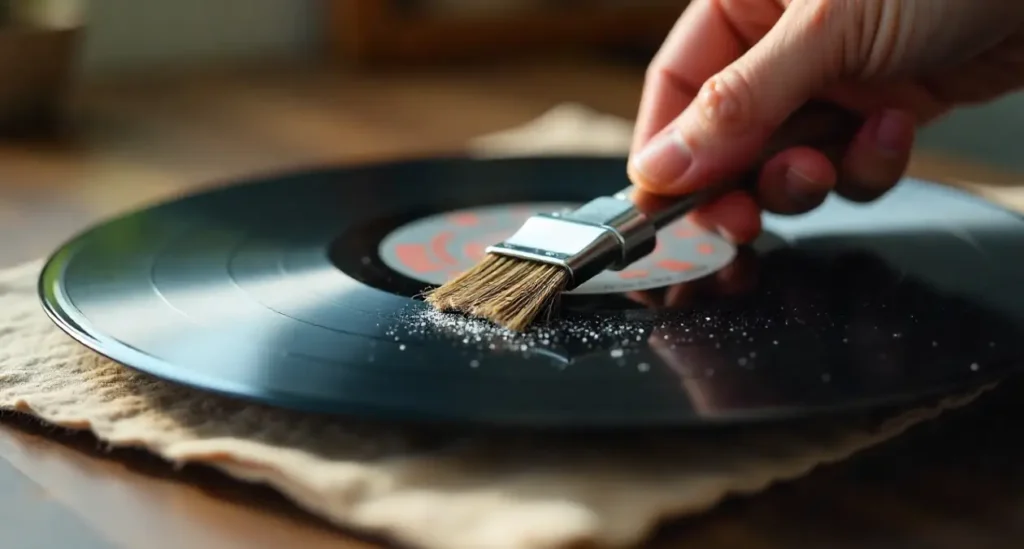
Using an Anti-Static Brush
Before playing, hold the record flat and slowly spin it while sweeping with an anti-static brush. This removes loose dust and reduces static. Doing this is one of the quickest and most effective parts of How to Clean Vinyl Records for daily listening.
Step-By-Step: Gentle Hand Cleaning Method
Preparing the Cleaning Solution (DIY)
A safe, simple DIY mix:
- 3 parts distilled water
- 1 part isopropyl alcohol (70% max recommended) OR 1–2 drops of mild, non-scented dish soap
Never use colored soaps, added fragrances, or bleach. If using alcohol, avoid the label area — prolonged exposure can lift inks.
Wet Cleaning Process — Slow and Steady
- Lay the record on a clean, soft surface (record mat).
- Apply solution sparingly — use a spray bottle or dropper, aiming at the groove (not the label).
- Use a soft record brush or microfiber pad to move in a concentric motion following the grooves (not across them). Work from inner grooves outward to avoid dragging debris inward.
- Repeat if the record is particularly dirty, but avoid soaking.
Drying and Inspecting the Record
After cleaning, gently remove excess liquid with a dry, lint-free cloth using the same concentric motion. Let the record air-dry standing vertically in a clean sleeve if possible. Inspect under light for remaining spots. This process is a core element of How to Clean Vinyl Records done right.
Deep Cleaning: When to Use a Machine
Vacuum Record Cleaners: What They Do
Vacuum machines apply a cleaning fluid then vacuum it off, capturing dirt and leaving less moisture. They are faster than hand methods and reduce the risk of streaks or residue.
Ultrasonic Cleaners: Pros and Cons
Ultrasonics are thorough: they remove microscopic contaminants from deep in the groove. Downsides include cost and careful handling (ensure the cleaner’s basket doesn’t touch the record label, and follow manufacturer directions). For rare records, this is often the gold standard.
Cleaning Vinyl Record Labels and Inner Sleeves
Protecting Labels During Cleaning
Avoid spraying labels. If the label gets a little moisture, blot it quickly with a dry cloth. For stubborn label stains, use minimal dampness and be extremely gentle — labels are fragile and can peel.
Cleaning Inner and Outer Sleeves
Replace worn paper sleeves with anti-static inner sleeves (poly-lined). For outer covers, a dry cloth is usually enough. If a sleeve is filthy, remove the record and carefully spot-clean the sleeve exterior, letting it dry completely before re-sleeving.
Troubleshooting: Fixing Scratches, Warps, and Persistent Pops
Reducing Surface Noise vs. Removing Scratches
A deep scratch is physical damage the stylus will track — cleaning can only reduce noise from dirt, not erase gouges. For mild surface noise, multiple gentle cleanings or ultrasonic cleaning can help. If noise persists, consider a professional restoration service for valuable records.
When a Record Is Beyond Repair
Extensive warping or deep, repeated scratches may be irreversible. If a record is sentimental or very valuable, consult a conservator before attempting aggressive cleaning.
Storage and Ongoing Maintenance Tips
Best Practices for Sleeves and Shelving
Store records vertically — never stack. Use anti-static inner sleeves and sturdy outer sleeves to prevent dust ingress. Keep the spine facing outward so you can handle records by the sleeve, not the vinyl.
Climate Control, Anti-Static, and Frequency of Cleaning
Avoid high heat and humidity. Ideal storage is a cool, dry place out of direct sunlight. Use humidifiers or dehumidifiers to maintain stable conditions. Clean records only when dirty or before playing; over-cleaning can be unnecessary and risk damage.
Quick Comparison: DIY vs. Commercial Cleaners
Cost, Safety, and Effectiveness
DIY solutions are cheap and effective if made with distilled water and mild soap. Commercial solutions are formulated for safe, residue-free cleaning and often include anti-static properties. Vacuum and ultrasonic machines cost more but deliver superior, repeatable results. Choose based on how many records you own and how valuable they are.
Final Checklist Before You Play
Quick 7-Point Checklist
- Hold by edges and label only.
- Brush with an anti-static brush.
- Inspect for visible dust or marks.
- Perform a gentle wet clean if needed.
- Dry completely before playing.
- Use a clean stylus and proper tracking force.
- Store back in an anti-static sleeve immediately.
Conclusion
Learning How to Clean Vinyl Records is simple and rewarding. With a small set of tools, consistent handling, and a gentle cleaning routine, you can dramatically improve sound, reduce wear, and enjoy your collection for years. Start with basic daily care (anti-static brushing), move to hand-cleaning with distilled water and mild solutions for dirtier records, and consider vacuum or ultrasonic cleaning for deep, professional results. Remember — slow, gentle, groove-following motions are your friends. Treat your records with care, and they’ll reward you with clearer, fuller sound every time.
FAQs
Q1: How often should I clean my records?
Clean before playing if you see dust or hear excessive surface noise. Daily brushing with an anti-static brush is excellent; full wet cleaning only when necessary.
Q2: Can I use household glass cleaner on vinyl?
No. Household cleaners often contain ammonia and solvents that can damage vinyl and labels. Use distilled water with a tiny bit of mild dish soap or a dedicated record cleaner.
Q3: Is isopropyl alcohol safe for cleaning records?
Used sparingly and diluted with distilled water, isopropyl alcohol can be safe for non-glossy records. Avoid labels and high concentrations; never use industrial solvents.
Q4: Will ultrasonic cleaners damage my records?
When used correctly, ultrasonic cleaners are safe and highly effective. Use a machine designed for records, avoid touching labels, and follow manufacturer guidelines.
Q5: My record still pops after cleaning — what now?
If popping persists, it might be a deep groove gouge or a static issue. Try anti-static treatments and inspect under light. If damage is physical, professional restoration or reissue may be the only fix.